

It is the time of the year when there is celebration everywhere. Presents are exchanged with family and friends. Often, a lot of planning and effort is made for presents, but not as much for the cards that accompany the presents. However, very often, these very cards are preserved longer than the gifts they accompany, and contribute to lasting memories. Manasa Mukka shows you how to make three easy cards that can be made with things lying around the house, and make for a fun crafting activity with your kids.
Winter Trees

Materials Required
 Materials needed
- Brown chart paper – 30 cm X 10 cm
- Assorted printed card stock papers – 3
- Black marker
- Silver marker
- Pencil and eraser
- Glue
- Scissors
- Ruler
- Stones/stars to stick on top of trees
Instructions
- Fold the brown chart by half so that it now measures 15 cm X 10 cm
- Fold the coloured stock papers and draw a lines at the edge of the folding to make a half triangle as shown and cut them.

- Stick them on the brown chart paper, and make dots of various sizes with a silver marker to make them look like snowflakes. Stick 3 stars (I chose to stick imitation jewels in square and triangle shapes. My 8 year old wrote the words “Season’s Greetings” with silver and black markers.
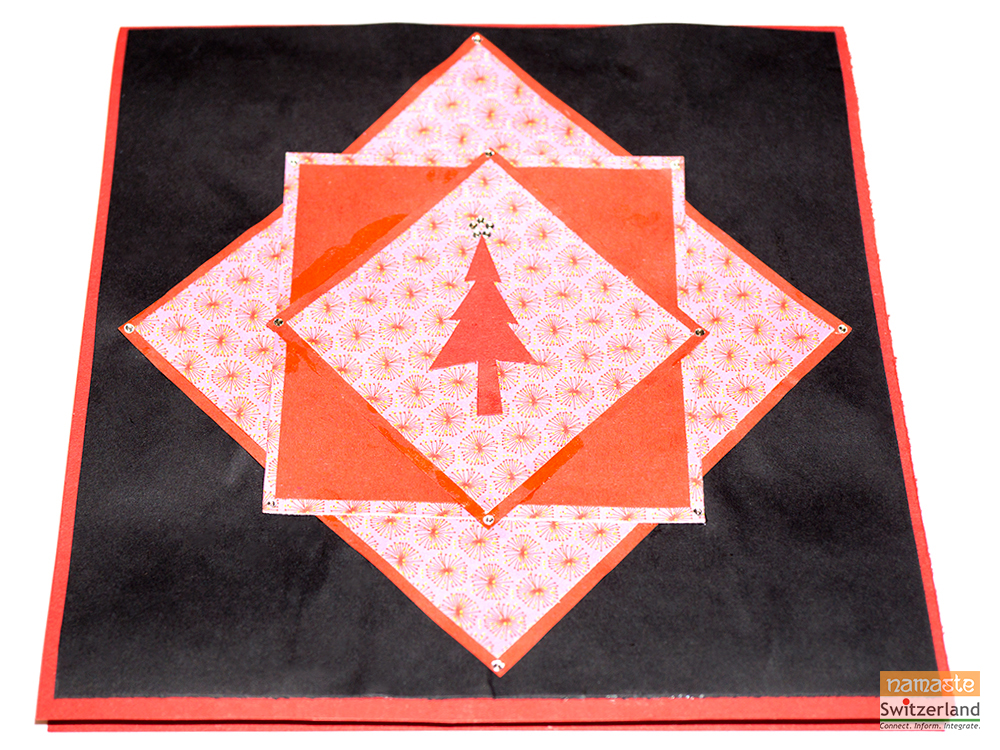
Square Layered Card
Materials Required
 Red chart paper – 20 cm X 10 cm
- Black chart paper – 9.5 X 9.5 cm
- Red and printed card stock paper – 1 each
- Pencil and eraser
- Glue
- Scissors
- Ruler
- Small crafting stones to decorate the card
Instructions
- Measure and cut the card stock papers into squares as shown.

- Arrange and stick the cut papers as show. Draw and cut a tree and stick it in the middle of the card. Stick a few stones on the card to give it some festive cheer.
Christmas Lights Finger Painting Card

Materials needed
 Green chart paper – 20 cm X 30 cm folded in half
- White chart paper – 19 X 14 cm
- Water/acrylic paints
- Pencil and eraser
- Glue
- Scissors
- Ruler
- Black marker
Instructions
- Draw squiggly lines on the white chart paper with pencil as shown and make square markings to represent the base of the light bulbs
- Take out 4 tubes of your favorite colors and squeeze out a little from each tube on your palette.
- Coat your child’s finger with paint, and help them stamp their print on top of the bases of the bulbs.

- Draw the lines with black marker and write “Happy New Year” below it.
- Stick the white card paper on the front of the green chart paper
- A pretty card is ready!
Disclaimer: Opinions and methods expressed are solely of the writer. Namaste Switzerland does not undertake any obligation or liability which may arise from the content.