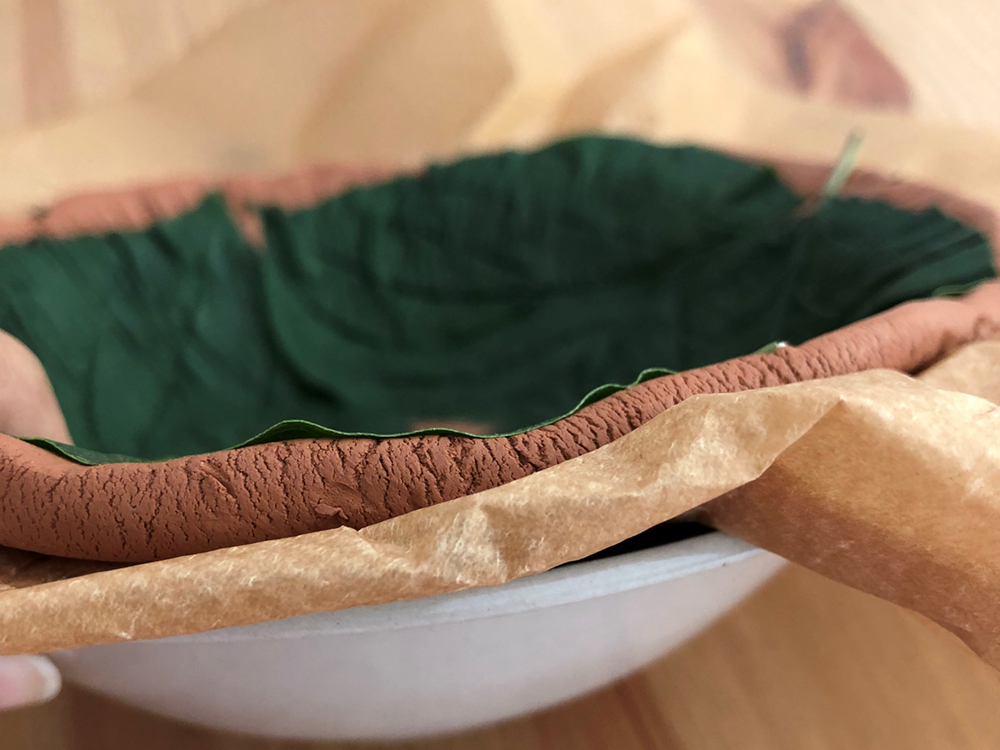
This multipurpose leaf print clay bowl was made by my boys – 4.5 and 7 years old. All I did was – help them bake.
For the ‘Fall’ effect, we used the autumn colour palette.
What they loved the most: using the natural leaves for imprinting on clay.
What I loved: the surprised look they had on their faces on seeing the final baked creation.
Materials Required
- Terracotta Modelling Clay ( air dry )
- Baking paper for rolling and baking
- A medium-sized bowl based on the size and shape you would like to make your own bowl in
- Fabric colours
- Rolling pin
- Paintbrushes
- Sponge or paint brushes (depending on what effects you want to create using colour on the picture)

Procedure
Step 1: Remove the clay from the pack and make sure you seal the leftover clay packet if you’re not using all of it.
Step 2: Knead the clay well using a little oil on your hands. It won’t stick to your palms. Knead it into a ball.
Step 3: Then, roll it into a shape of your choice. The thickness should be approximately 1/4 inch.
Step 4: Place the leaves facing down for a better effect on the rolled clay as shown in the picture.

Step 5: Using a rolling pin, roll out the clay, once again so that the leaves set a better and clear imprint.
Step 6: Gently pick up the clay along with the baking sheet and place it on the bowl.

Step 7: Slowly mould the sides into a round shape.

Step 8: Remove the leaves from the clay with a steady hand.

Step 9: Preheat the oven to 150 degrees and bake for 10 minutes on both sides – depending on the size of your model.
This is an air dry clay so, if you don’t want to bake it and are patient enough, you could let it dry on its own for two days.

Step 10: Once dry, dab on the colours of autumn or simply keep it natural.
Step 11: Seal your work with varnish or any deodorant spray ( yes, it does work! )

Your clay bowl is ready to use!
Make it your jewellery holder, a coins bowl, serve chocolates in it, or just keep it as table decor.
Disclaimer: Opinions and methods expressed are solely of the writer. Namaste Switzerland does not undertake any obligation or liability which may arise from the content.


